Using ZED + Robotiq with Franka#
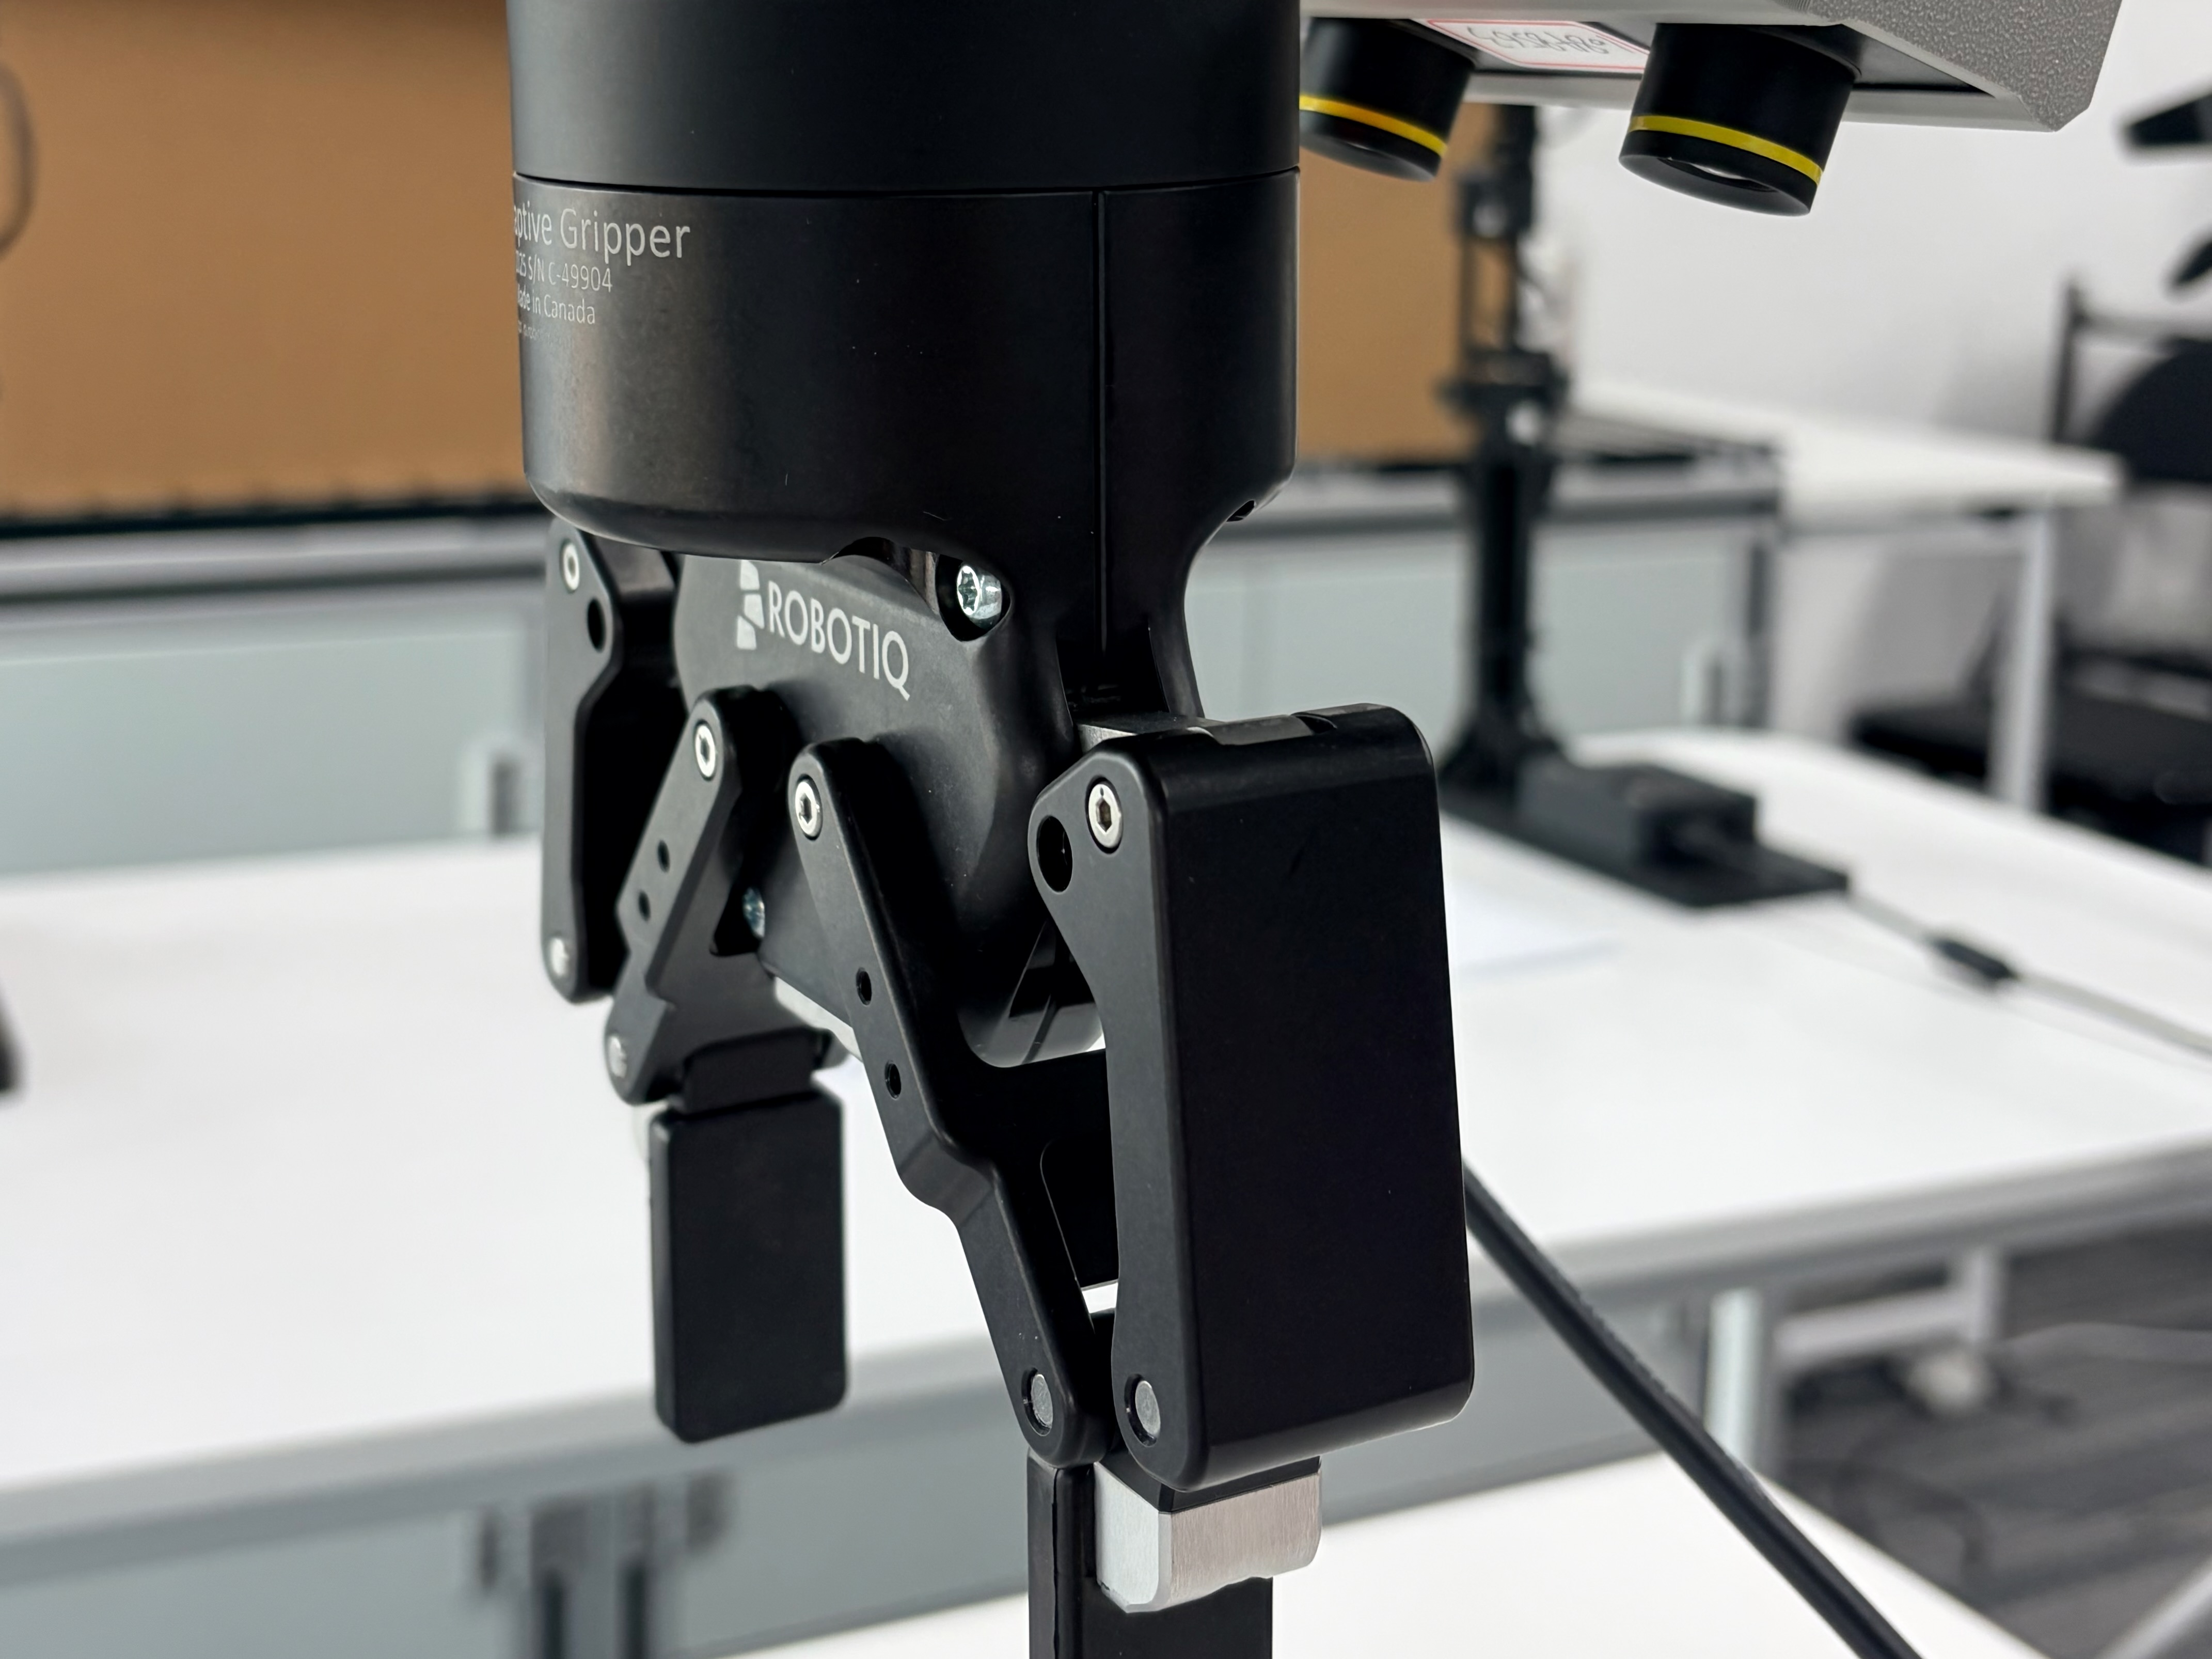
Franka setup with Stereolabs ZED cameras and a Robotiq 2F gripper for sensor-rich data collection.#
Extend the base Franka setup with Stereolabs ZED cameras and a Robotiq 2F gripper. You’ll install the SDKs, wire serial devices, update YAML hardware fields, and collect data with the new sensors.
Overview#
Swap the default camera/gripper stack for a ZED + Robotiq deployment.
Any Franka policy
Data collection · downstream RL/SFT
ZED + Robotiq collection
Franka · ZED · Robotiq 2F
Tasks#
Task |
Config / entry point |
Description |
|---|---|---|
Sensor setup |
|
Capture ZED images and control the Robotiq gripper. |
Data collection |
|
Collect SpaceMouse demonstrations with the hardware override. |
Downstream training |
Franka real-world configs |
Reuse the collected data in SFT/RL configs. |
Observation and Action#
Field |
Description |
|---|---|
Observation |
ZED RGB streams, usually captured on the GPU node. |
Action |
Franka Cartesian action plus Robotiq gripper command. |
Reward |
Same reward source as the downstream Franka task. |
Prompt |
Inherited from the downstream Franka task config. |
Installation#
ZED Camera Setup#
The ZED SDK and its Python API must be installed on every node that captures images (typically the GPU server node). Full details are available in the official ZED Python API installation guide.
1. Install the ZED SDK#
Download the SDK installer from the Stereolabs download page and choose the version that matches your OS and CUDA version.
Warning
Use ZED SDK 4.2.x (e.g. v4.2.5). ZED SDK 5.0+ ships its own
bundled NumPy which conflicts with the numpy<2 pin required by
Franka cross-node serialization. Stick with the 4.2 series to avoid
dependency issues.
# Example for CUDA 12.x on Ubuntu 22.04
chmod +x ZED_SDK_Ubuntu22_cuda12.1_v4.2.5.zstd.run
./ZED_SDK_Ubuntu22_cuda12.1_v4.2.5.zstd.run
Follow the on-screen prompts. When asked
Do you want to install the Python API (recommended) [Y/n] ?,
press Y to install the Python bindings automatically.
2. Install the Python API (if not done during SDK setup)#
If you skipped the Python API during SDK installation, or need to install it into a different virtual environment, run the bundled helper script:
# Activate your virtual environment first
source /path/to/your/venv/bin/activate

# Run the official install script
cd /usr/local/zed/
python3 get_python_api.py
The script auto-detects your platform, Python version, and ZED SDK version,
then downloads and installs the matching pyzed wheel.
Alternatively, you can install the wheel directly:
python -m pip install --ignore-installed /usr/local/zed/pyzed-*.whl
Note
The pyzed wheel is tied to a specific Python version and CUDA
version. Make sure you install it into the same virtual environment
that Ray will use on this node. If you are using a virtual environment,
activate it before running the install script.
3. Verify camera detection#
List connected ZED cameras and note their serial numbers:
python -c "
import pyzed.sl as sl
for dev in sl.Camera.get_device_list():
    print(f'Serial: {dev.serial_number}  Model: {dev.camera_model}')
"
Record the serial numbers; they will be used in the YAML configuration.
Robotiq Gripper Setup#
The Robotiq gripper communicates over Modbus RTU through a USB-to-RS485
adapter. The required Python dependency pymodbus is automatically
installed when you run the Franka installation script:
bash requirements/install.sh embodied --env franka
The following steps set up the serial device on the node that controls the gripper (typically the NUC).
1. Set up the serial device#
Plug the USB-to-RS485 adapter into the NUC. Identify the serial device:
ls /dev/ttyUSB*
# Typically /dev/ttyUSB0
Grant permission:
sudo chmod 666 /dev/ttyUSB0
# Or add your user to the dialout group for persistent access:
sudo usermod -aG dialout $USER
3. Verify the gripper#
A quick sanity check (run on the NUC):
python -c "
from rlinf.envs.realworld.common.gripper.robotiq_gripper import RobotiqGripper
g = RobotiqGripper(port='/dev/ttyUSB0')
print(f'Position: {g.position:.4f} m, Ready: {g.is_ready}')
g.open()
import time; time.sleep(1)
g.close()
g.cleanup()
"
Configuration File#
The key differences from a standard (RealSense + Franka gripper) config are
the new camera_type, gripper_type, gripper_connection, and
controller_node_rank fields inside the hardware.configs block.
cluster:
  num_nodes: 2
  component_placement:
    actor:
      node_group: gpu
      placement: 0
    env:
      node_group: gpu
      placement: 0
    rollout:
      node_group: gpu
      placement: 0
  node_groups:
    - label: gpu
      node_ranks: 0
    - label: franka
      node_ranks: 0-1
      hardware:
        type: Franka
        configs:
          - robot_ip: <ROBOT_IP>
            node_rank: 0
            camera_serials:
              - "<ZED_SERIAL_1>"
              - "<ZED_SERIAL_2>"
              - "<ZED_SERIAL_3>"
            camera_type: zed            # "realsense" or "zed"
            gripper_type: robotiq       # "franka" or "robotiq"
            gripper_connection: "/dev/ttyUSB0"
            controller_node_rank: 1     # FrankaController runs on the NUC
            disable_validate: false
Field |
Default |
Description |
|---|---|---|
|
|
Camera backend. Set to |
|
|
Gripper backend. Set to |
|
|
Serial port for Robotiq (e.g. |
|
|
Node rank where |
Run It#
A dedicated data collection script and configuration are provided for collecting teleoperation demonstrations using the ZED + Robotiq hardware setup. This mirrors the base Franka data collection workflow described in Real-World RL with Franka, but with ZED camera and Robotiq gripper defaults pre-configured.
Configuration
The config file is
examples/embodiment/config/realworld_collect_data_zed_robotiq.yaml.
Before running, update the following fields to match your setup:
cluster:
  node_groups:
    - label: franka
      node_ranks: 0-1
      hardware:
        type: Franka
        configs:
          - robot_ip: ROBOT_IP           # your robot's IP
            camera_serials:
              - "ZED_SERIAL_1"           # your ZED camera serial(s)
            camera_type: zed
            gripper_type: robotiq
            gripper_connection: "/dev/ttyUSB0"
            controller_node_rank: 1

env:
  eval:
    override_cfg:
      target_ee_pose: TARGET_EE_POSE     # your target end-effector pose
Key data-collection settings in the same file:
Field |
Default |
Description |
|---|---|---|
|
|
Number of episodes to collect before the script exits. |
|
|
Enable SpaceMouse teleoperation during collection. |
|
|
Directory where collected trajectories are saved. |
|
|
Export format for the collected data. |
|
|
Only save successful episodes. |
Running data collection
Important
Unlike the base Franka setup described in Real-World RL with Franka (which runs on
a single controller node with num_nodes: 1), the ZED + Robotiq
configuration requires two nodes (num_nodes: 2):
Node 0 – GPU server with ZED camera connected.
Node 1 – NUC / controller node connected to the robot arm and Robotiq gripper (
controller_node_rank: 1).
Both nodes must have Ray running before you launch the script.
On each node, source the virtual environment and set the required environment variables:
source <path_to_your_venv>/bin/activate

export PYTHONPATH=<path_to_your_RLinf_repo>:$PYTHONPATH
export RLINF_NODE_RANK=<0_or_1>
# Optional – only needed if you have multiple network interfaces
export RLINF_COMM_NET_DEVICES=<network_device>
Start Ray on each node:
# On the head node (node 0, GPU server)
ray start --head --port=6379 --node-ip-address=<head_node_ip>

# On the controller node (node 1, NUC)
ray start --address=<head_node_ip>:6379
Run the data collection script on the head node (node 0):
bash examples/embodiment/collect_data.sh realworld_collect_data_zed_robotiq
Pass another config name if you copy the ZED + Robotiq YAML:
bash examples/embodiment/collect_data.sh <config_name>
During collection, use the SpaceMouse to teleoperate the robot. The script
will terminate after the configured number of episodes and save the data
under logs/<timestamp>-<config_name>/collected_data/.
After collection, upload the data to the training node and set the
algorithm.demo_buffer.load_path field in your training config to the
data path.
Cluster Setup Notes#
The cluster setup procedure is the same as described in Real-World RL with Franka, with one key difference:
On the GPU server (node 0): make sure the ZED SDK and
pyzedare installed in the virtual environment before runningray start.On the NUC (node 1): make sure
pymodbusis installed, and the Robotiq serial device is accessible.
Warning
Remember that Ray captures the Python interpreter and environment
variables at ray start time. Any SDK or library installed
after ray start will not be visible to Ray workers. Always
install dependencies first, then start Ray.
For multi-node Ray setup details, refer to Real-World RL with Franka and Heterogenous Hardware Setup.
Troubleshooting#
ZED camera not detected
Verify the USB 3.0 cable is connected and the camera LED is on.
Run
lsusband look forStereolabsdevices.Ensure the ZED SDK version matches your CUDA version.
Robotiq gripper not responding
Check
ls /dev/ttyUSB*to confirm the serial device is present.Verify permissions:
sudo chmod 666 /dev/ttyUSB0.Ensure
pymodbusversion is>=3.0,<4.0.Try reducing the baud rate if communication is unreliable:
RobotiqGripper(port='/dev/ttyUSB0', baudrate=9600).
Controller node rank mismatch
If the arm is on a NUC (node 1) but cameras are on the GPU server (node 0), you must set
controller_node_rank: 1in the hardware config. Otherwise the controller will try to start on node 0, which does not have ROS or the arm connection.